Professional Photo Editing Workflow for Beginners: From Import to Export
Master the complete photo editing workflow used by professionals. Learn the step-by-step process from importing raw files to exporting polished final images.
Professional photographers and editors follow systematic workflows that ensure consistent, high-quality results. Understanding this process—from importing raw files to exporting polished finals—transforms how you approach image editing and dramatically improves your output quality.
Phase 1: Organization and Import
Professional workflows begin before any editing. Establishing a consistent folder structure and naming convention saves countless hours searching for files later. Many professionals organize by date, project, or client, with subfolders for raw files, work-in-progress, and final exports.
During import, rename files with meaningful names rather than keeping camera-generated numbers. IMG_4523.jpg tells you nothing; 2026-01-18_product-shoot_widget-blue-front.jpg provides immediate context. Batch renaming tools make this process quick even for large imports.
Apply basic metadata during import: copyright information, keywords for searchability, and location data if relevant. This investment in organization pays dividends as your library grows.
Phase 2: Culling and Selection
Before editing anything, review all images and select the keepers. Professional photographers often shoot hundreds of images to get a handful of excellent ones. Spending time editing rejected images wastes effort.
Use a star rating or flag system to mark images. First pass: reject obvious failures (out of focus, poor exposure, closed eyes). Second pass: identify standouts worthy of full editing attention. Third pass: select final images from the standout pool based on variety and client needs.
This culling process often eliminates 80-90% of captured images. Brutal selection ensures your editing time goes toward images that deserve it.
Phase 3: Basic Corrections
With selected images identified, begin technical corrections. These foundational adjustments affect all subsequent edits, so getting them right matters. Start with exposure correction to ensure proper brightness without losing highlight or shadow detail.
White balance correction ensures colors appear natural. Cameras often misread lighting conditions, producing images that are too warm (orange) or cool (blue). Correct white balance before making other color adjustments.
Crop and straighten to improve composition. Remove distracting elements from edges, align horizons, and apply the rule of thirds if appropriate. These geometric corrections change image dimensions, so complete them before detailed retouching.
Phase 4: Tone and Contrast
Adjust overall contrast to add punch and dimension. Increase highlights and whites for brightness; decrease shadows and blacks for depth. The goal is creating visual interest through tonal range while maintaining natural appearance.
Local adjustments target specific areas. Brighten subjects' faces, darken distracting backgrounds, or enhance specific details. Tools like adjustment brushes and gradients allow precise control over different image regions.
Phase 5: Color Enhancement
Color adjustments bring images to life. Vibrance boosts muted colors while protecting already-saturated areas— generally more natural than global saturation adjustments. HSL (Hue, Saturation, Luminance) controls allow targeting specific colors: make skies deeper blue, grass more vibrant green, or skin tones more flattering.
Color grading applies creative color styling. This might mean a warm, vintage look with lifted blacks, a cool cinematic feel with teal shadows, or a clean, bright aesthetic for commercial work. Consistency in color grading creates recognizable style across your portfolio.
Phase 6: Detail Enhancement
Sharpening enhances edge definition for crisp, detailed images. Apply sparingly—over-sharpening creates ugly halos and artificial appearance. Different subjects need different amounts: portraits benefit from less sharpening than landscapes or product photography.
Noise reduction smooths digital grain, especially important for images shot at high ISO. Balance noise reduction against detail preservation; excessive noise reduction creates a plastic, overprocessed look.
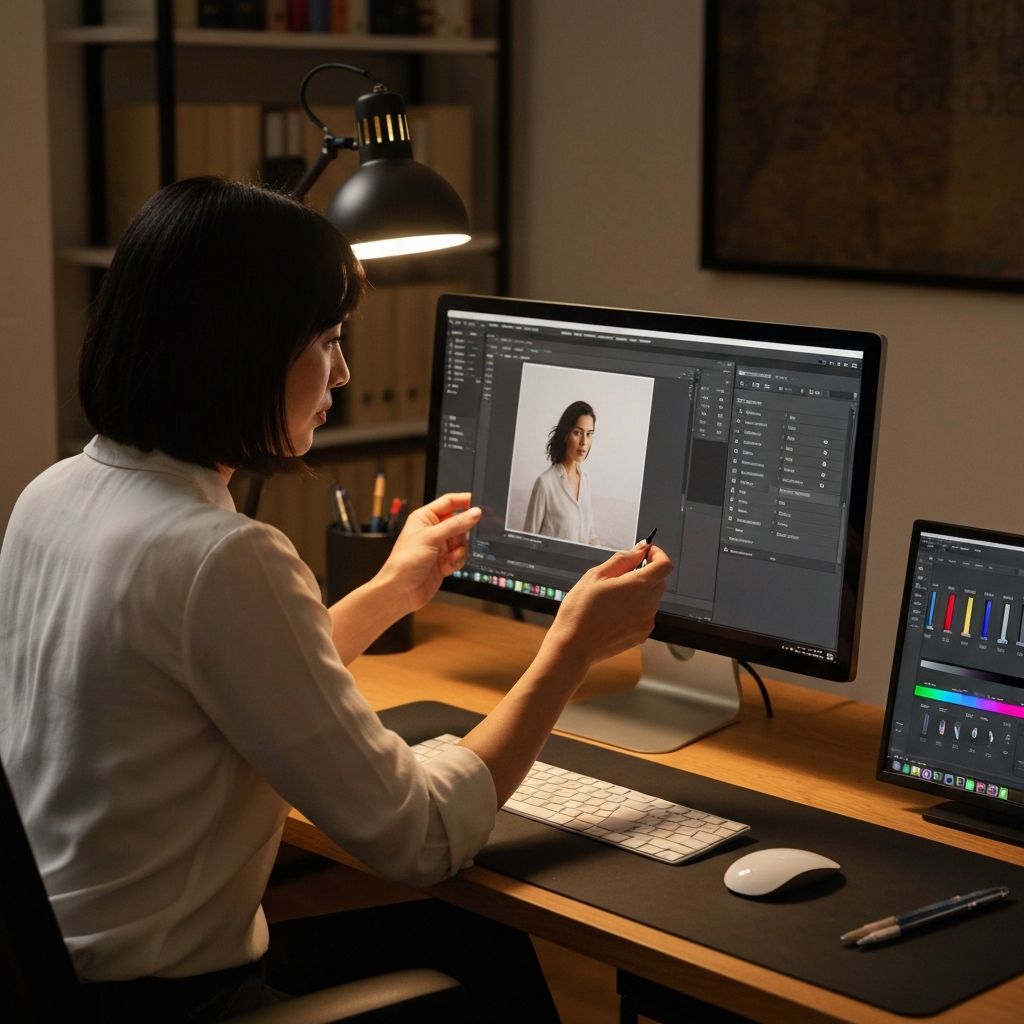
Phase 7: Retouching (When Needed)
Retouching addresses specific imperfections: removing blemishes in portraits, eliminating sensor dust spots, cleaning up background distractions. The goal is enhancement, not transformation—maintain authenticity while polishing presentation.
Work non-destructively when possible, using adjustment layers and masks rather than permanently modifying pixels. This allows returning to make changes without starting over.
Phase 8: Final Review
Before exporting, review images at 100% zoom to check for issues invisible at smaller sizes: noise, sharpening halos, compression artifacts, retouching mistakes. View on different screens if possible—what looks perfect on one monitor may reveal problems on another.
Take breaks between editing and final review. Fresh eyes catch mistakes fatigue blinds you to. Many professionals review final selects the next day before delivery.
Phase 9: Export and Delivery
Export settings depend on destination. Web images need smaller dimensions and aggressive compression (WebP or JPEG at 75-85% quality). Print requires full resolution at 300 DPI with minimal compression. Client delivery might need multiple versions for different uses.
Name exported files clearly with version indicators. Include image dimensions or intended use in filenames: hero-image-1920x1080-web.jpg vs hero-image-full-resolution-print.jpg. This prevents confusion when managing multiple versions.
Building Your Personal Workflow
Adapt this framework to your needs. Document your process so it becomes automatic. Create presets for common adjustments to speed up repetitive tasks. Review and refine your workflow regularly as skills and tools evolve.
ImageToolsPro fits into the final stages of this workflow, handling resize, format conversion, and compression for web-ready exports. Combined with your editing software, it creates a complete pipeline from raw capture to optimized delivery.